
Overview
You are strongly recommended to review the security settings on your AWS account as soon as you sign up. The root account is particular vulnerable so lets go ahead and add MFA. In this case I will add a virtual authenticator using my smartphone – a physical device called a dongle is also available from Amazon.
Remember to use Root access infrequently, set up an IAM role and group with permissions for common usage.
As I’m using an Android device in this example I shall begin by downloading and installing Google authenticator from the app store.
Setting up MFA on your AWS Account
From the main services dashboard under security select Identity Access Management (IAM)
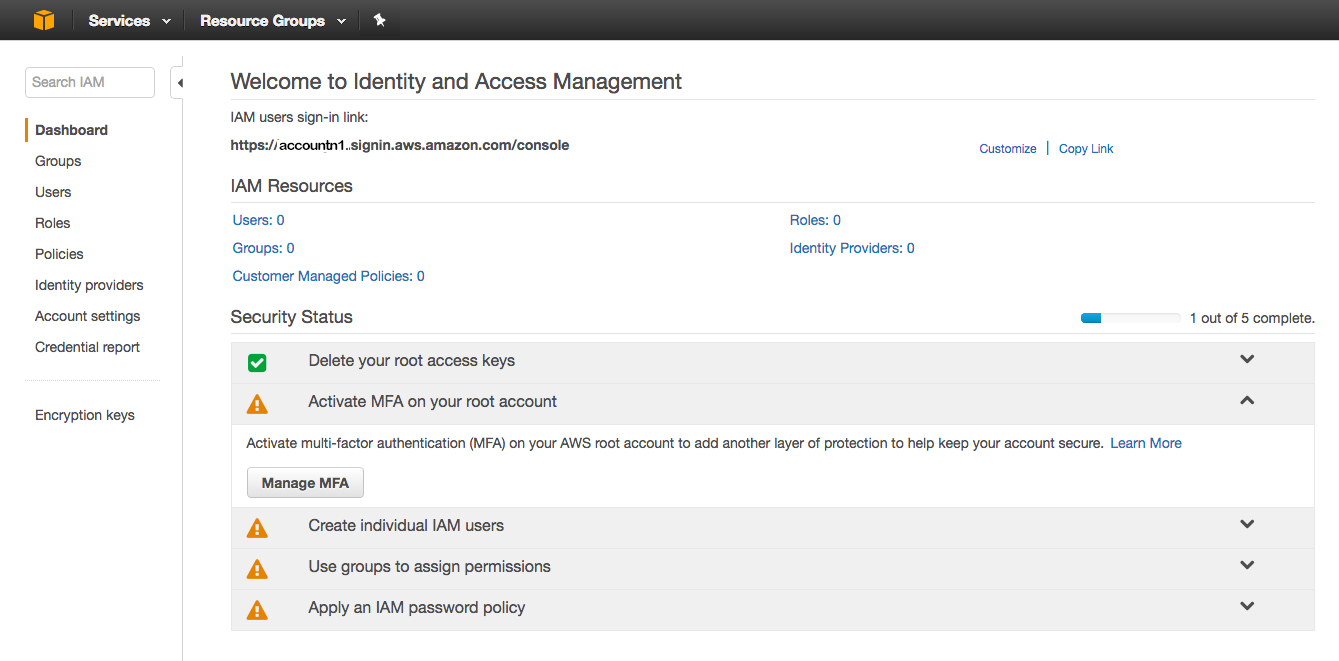
Select ‘Activate MFA on your Root Account’ and click manage MFA to getthis screen:

Select A Virtual Device (there are several options, here I chose Google Authenticate on an android device). Click next Step and you will see a QR code – go ahead and scan it with your Virtual Authenticator on your smartphone. The QA code has been modified here for security reasons.
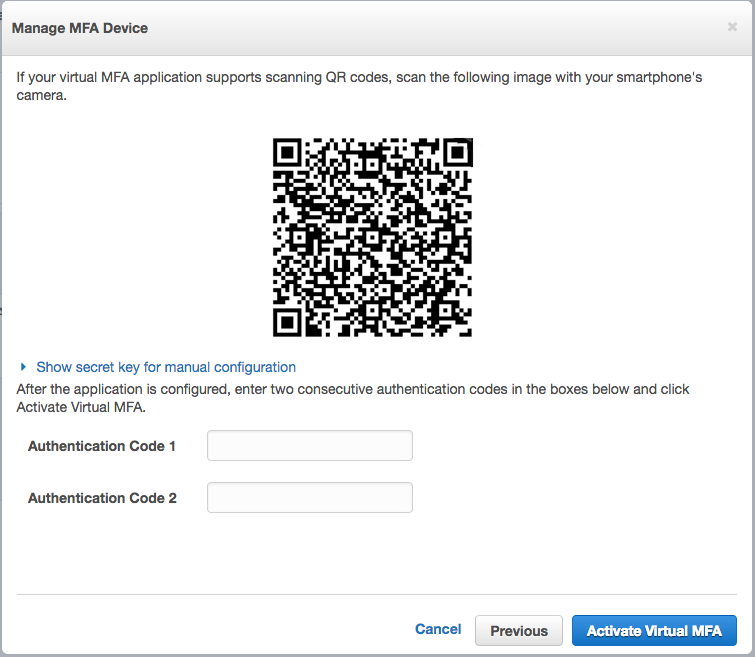
Your Authenticator will produce a code – enter the first, after which your authenticator will generate a second – enter this too and click ‘Activate Virtual MFA’
If there is an error (usually a token error) you may need to turn off MFA on AWS, delete the account from your authentication app and start over again. If everything went correctly, you swill see a dialogue box say: ‘MFA Device was successfully Associated’, click finish and you are done! Login again.


